How to Get Your Roof Ready for Hurricane Season on the East Coast
Hurricane season runs from June 1 through November 30, and East Coast homeowners in Maryland, Virginia, and Washington DC know that even tropical storms and hurricane remnants can cause devastating roof damage. The 2024 and 2025 seasons reminded the Mid-Atlantic that you don’t need a direct hit from a Category 4 hurricane to lose your roof — tropical storm-force winds, heavy rain, and flying debris can cause serious damage hundreds of miles from a storm’s center. This guide shows you exactly how to prepare your roof for hurricane season, with actionable steps you can take now to protect your home and your family.
Why East Coast Homeowners Should Prepare Early
The Mid-Atlantic region faces a unique hurricane risk profile:
Direct hits are rare but devastating: While Category 3+ hurricanes rarely make landfall this far north, Hurricane Isabel (2003) and Hurricane Sandy (2012) proved that the Mid-Atlantic is not immune to catastrophic storms. For more details, see our guide on storm damage roof claim in Washington DC.
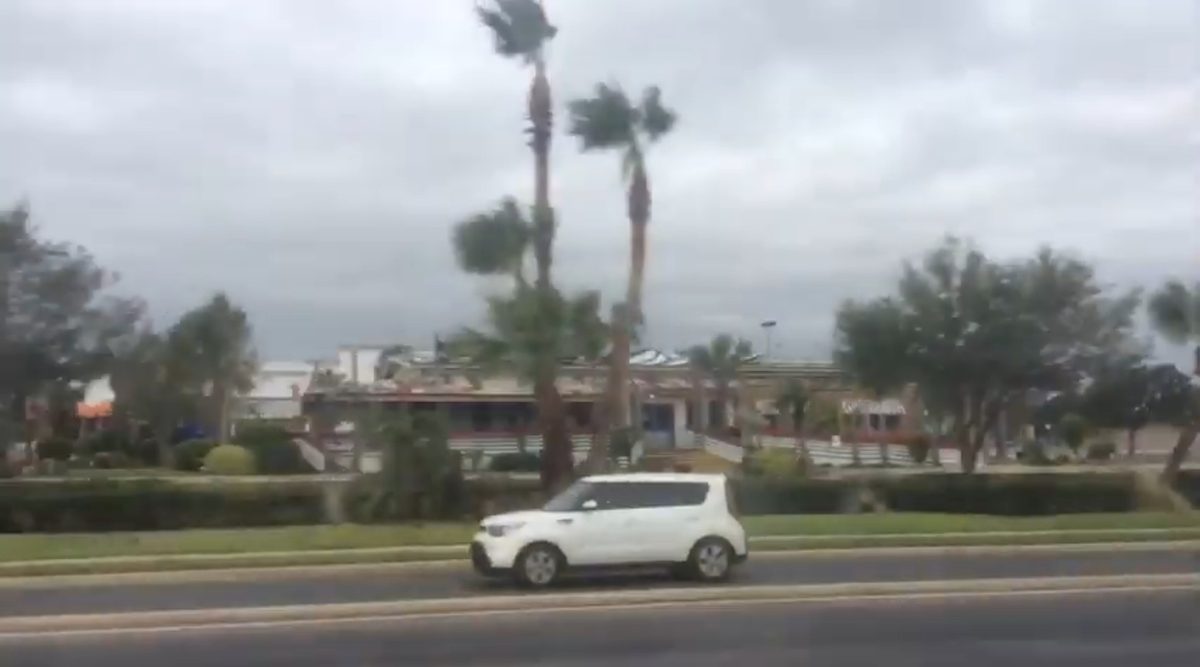
Tropical remnants are the real threat: More commonly, the Mid-Atlantic gets hit by tropical storm remnants that bring 50–80 mph winds and torrential rain. These events happen every 2–3 years on average and cause billions in damage across Maryland, Virginia, and DC.
Nor’easters add risk: The fall transition from hurricane season to nor’easter season (October–November) can produce back-to-back severe weather events that compound roof damage.
Roofing contractors are unavailable after the storm: Once a storm hits, every roofer in the region is booked for weeks or months. Emergency tarping prices spike 200–400%. Preparing before the storm is dramatically cheaper and more effective than reacting afterward.
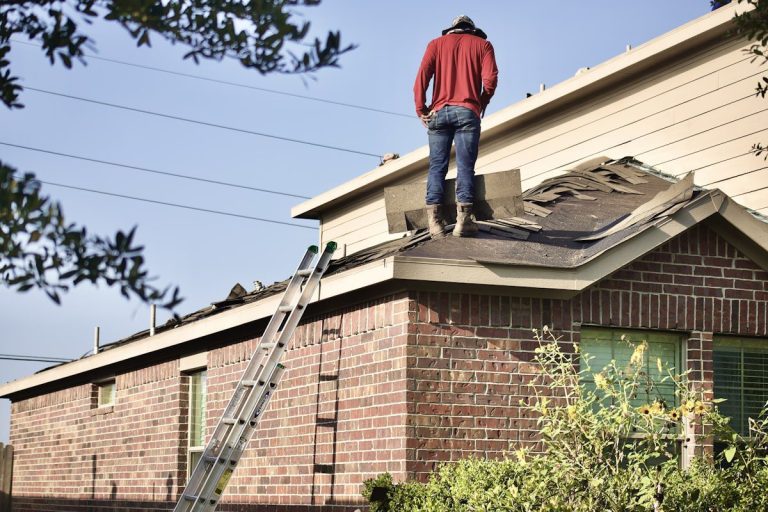
Step 1: Schedule a Professional Roof Inspection
The single most important thing you can do before hurricane season is have your roof professionally inspected. A licensed contractor can identify vulnerabilities that you can’t see from the ground:
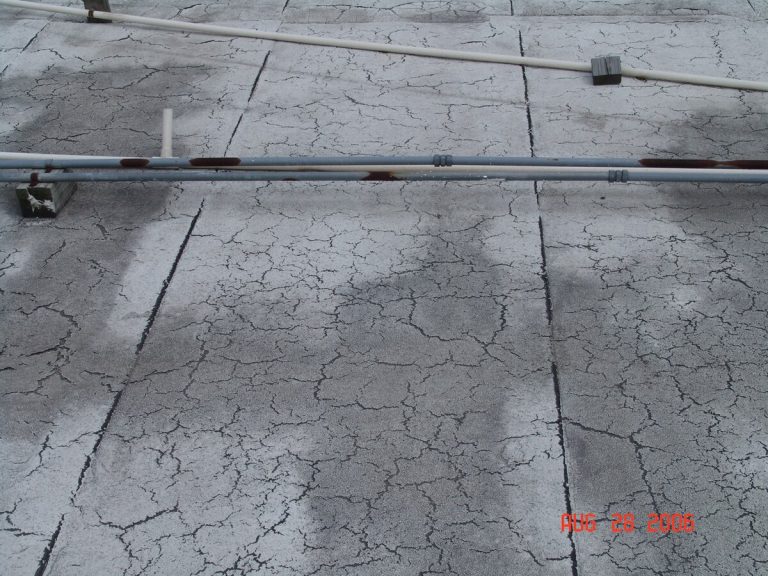
What they check: Shingle condition and seal integrity, flashing around chimneys, vents, and skylights, ridge cap and hip cap condition, soffit and fascia integrity, gutter attachment and condition, roof deck attachment (visible from attic inspection), and signs of previous wind or water damage.
Cost: Most reputable contractors in MD, VA, and DC offer free roof inspections, especially before storm season. If repairs are needed, they’ll provide an estimate.
When to schedule: April or May — before the June 1 start of hurricane season and before contractors get busy with summer projects.
Step 2: Fix Existing Damage Before the Storm
Address any issues identified during your inspection immediately. Minor problems become major failures in high winds:
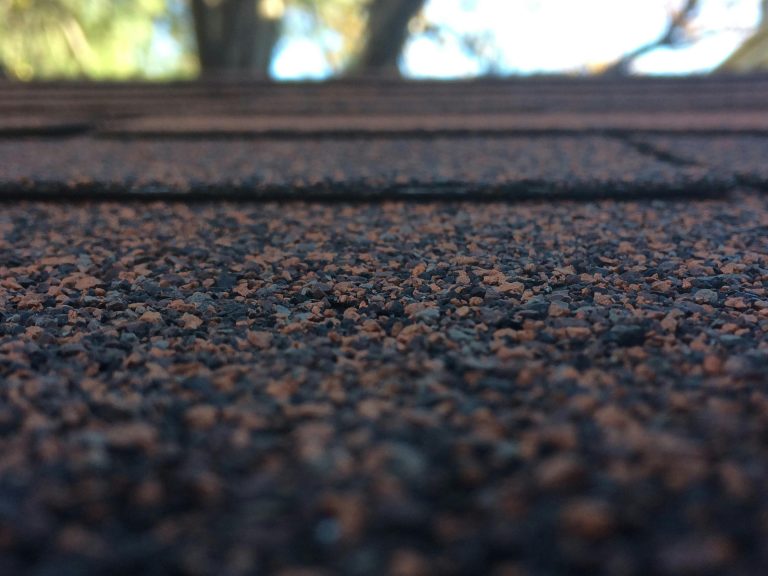
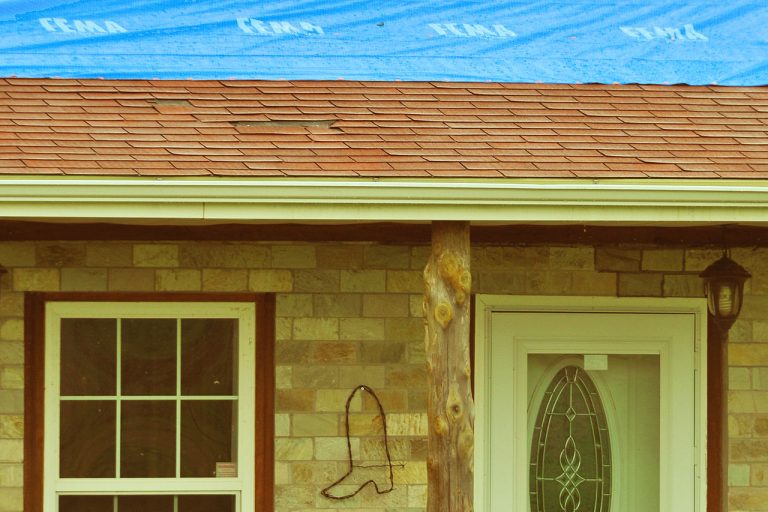
Missing or damaged shingles: Even a few missing shingles — one of the key signs you need a roof replacement — create entry points for wind-driven rain. Replacement cost: $150–$400 for a small repair. During a hurricane, those missing shingles become the starting point for large-scale wind damage as uplift peels back adjacent shingles.
Deteriorated flashing: Flashing around chimneys, vent pipes, and roof-to-wall transitions is a common leak point. Repair cost: $200–$800 per area. Failing flashing under hurricane conditions virtually guarantees interior water damage.
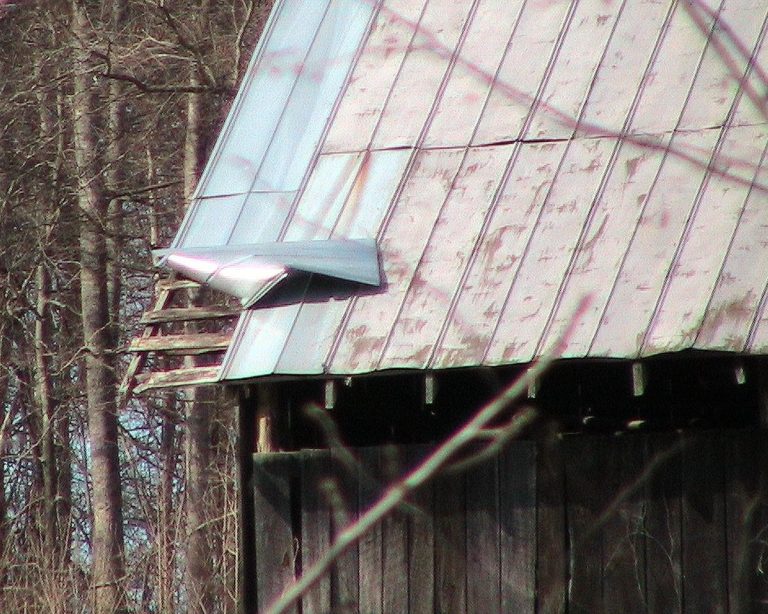
Loose or damaged ridge caps: Ridge caps are especially vulnerable to wind uplift. Securing or replacing them costs $300–$600 and can prevent the most catastrophic type of roof failure — where wind gets under the ridge and peels the entire roof back.
Gutter issues: Clogged, loose, or damaged gutters can’t handle hurricane rainfall volumes (2–4 inches per hour). Clean and secure all gutters and downspouts. Repair cost: $150–$400. Consider installing gutter guards if you don’t already have them ($1,000–$3,000).
Step 3: Strengthen Your Roof’s Wind Resistance
Beyond basic repairs, these upgrades significantly improve your roof’s ability to withstand hurricane-force winds:
Roof-to-wall connections: In many older East Coast homes, the roof is simply resting on the walls with minimal attachment. Adding hurricane straps (also called roof clips or tie-downs) connects the roof framing to the wall structure, dramatically reducing the chance of the roof lifting off during high winds. Cost: $1,500–$3,500 for a typical home. This is the single most effective wind-resistance upgrade you can make.
Seal your roof deck: If you’re replacing your roof before hurricane season, ask about a sealed roof deck system. Products like GAF Deck-Armor or Owens Corning Deck Defense create a secondary water barrier if shingles are torn off by wind. Cost: $1,000–$2,500 added to a replacement project.
Upgrade to wind-rated shingles: If your roof is nearing replacement age, consider upgrading to shingles with a 130+ mph wind rating and Class 4 impact resistance. The incremental cost over standard shingles is typically $500–$1,500 for the entire roof — a small price for significantly better storm performance.
Secure soffits: Vinyl soffits are particularly vulnerable to wind damage. If wind enters through damaged soffits, the resulting pressure can push the roof off from the inside. Reinforce or replace loose soffits before hurricane season. Cost: $500–$2,000.
Step 4: Trim Trees and Remove Hazards
Falling trees and branches are a leading cause of roof damage during East Coast storms:
Trim branches within 10 feet of your roof: Any branch that overhangs your roof or can reach it in high winds is a direct threat. Professional tree trimming costs $200–$800 per tree depending on size and access.
Remove dead trees: Dead or dying trees near your home are almost guaranteed to fall during a significant storm. Removal costs $500–$2,000+ per tree, but this is a fraction of what a tree through your roof will cost.
Particularly important in: Maryland’s wooded suburbs (Montgomery, Howard, Baltimore counties), Northern Virginia’s mature neighborhoods (McLean, Great Falls, Vienna), and DC neighborhoods with heavy tree canopy (Cleveland Park, Chevy Chase, Foxhall).
Step 5: Check Your Insurance Before You Need It
Don’t wait until a storm is approaching to review your insurance coverage:
Review your deductible: Many East Coast policies carry separate wind or hurricane deductibles that are higher than your standard deductible. Coastal Maryland (Ocean City, Easton), coastal Virginia (Virginia Beach, Norfolk, Hampton Roads), and some DC properties may have percentage-based wind deductibles of 1–5% of the insured value.
Confirm replacement cost coverage: Make sure your policy covers replacement cost value (RCV), not just actual cash value (ACV). The difference can be tens of thousands of dollars on an older roof.
Document your roof’s condition: Take dated photos of your roof from all angles before hurricane season. If your roof is recently replaced or repaired, keep all receipts, contracts, and warranty documents. This documentation is invaluable if you need to file a claim.
Consider flood insurance: Standard homeowner’s policies do NOT cover flood damage. If you’re in or near a FEMA flood zone — common along the Potomac, Chesapeake Bay, and Virginia’s Tidewater region — purchase flood insurance through the NFIP or a private carrier. There’s a 30-day waiting period, so don’t wait until a storm is forecast.
Step 6: Create a Hurricane Response Plan
When a storm is forecast, you should have a plan ready to execute:
Secure loose items: Patio furniture, grills, trash cans, and yard decorations become projectiles in high winds. Bring them inside or secure them firmly 48+ hours before the storm.
Have emergency supplies ready: Tarps, plywood, a cordless drill with screws, flashlights, and a battery-powered radio. If your roof is damaged during the storm, you’ll need to tarp it immediately — and hardware stores will be picked clean.
Know your contractor’s emergency number: Establish a relationship with a local roofing contractor before storm season. Many reputable contractors prioritize existing customers and inspection clients for emergency tarping after major storms.
Photograph your home: Take comprehensive photos of your roof, exterior, and interior before the storm. This “before” documentation is critical for insurance claims.
After the Storm: What to Do Immediately
If a hurricane or tropical storm impacts your area:
Stay safe: Don’t go on your roof. Inspect from the ground and from inside (check attic for daylight, water, or debris).
Document damage immediately: Photograph everything before cleanup. Time-stamped photos are your best evidence for insurance claims.
Make temporary repairs: Tarp exposed areas to prevent further water damage. This is required by your insurance policy’s “duty to mitigate” clause.
File your claim quickly: Contact your insurer within 24–48 hours. The sooner you file, the sooner an adjuster is assigned.
Beware of storm chasers: After every major East Coast storm, out-of-state “storm chasers” flood the market. They go door-to-door offering quick fixes. Always verify licensing (MHIC in Maryland, DPOR in Virginia, BBL in DC) before signing anything.
Related Reading
Get a Free Roofing Estimate
The best time to prepare your roof for hurricane season is before the storms arrive. A free professional inspection can identify vulnerabilities and give you time to make repairs at normal (non-emergency) pricing. Don’t wait until a storm is in the forecast.
Related Roofing Resources
- Pennsylvania hail and wind damage claims
- Filing storm damage claims in Baltimore
- Philadelphia storm damage roof claims
Click here to schedule your free pre-hurricane roof inspection →