Emergency Roof Tarping and Temporary Repairs: What to Do After Storm Damage on the East Coast
When a Storm Hits Your Roof: The First 24 Hours Matter Most
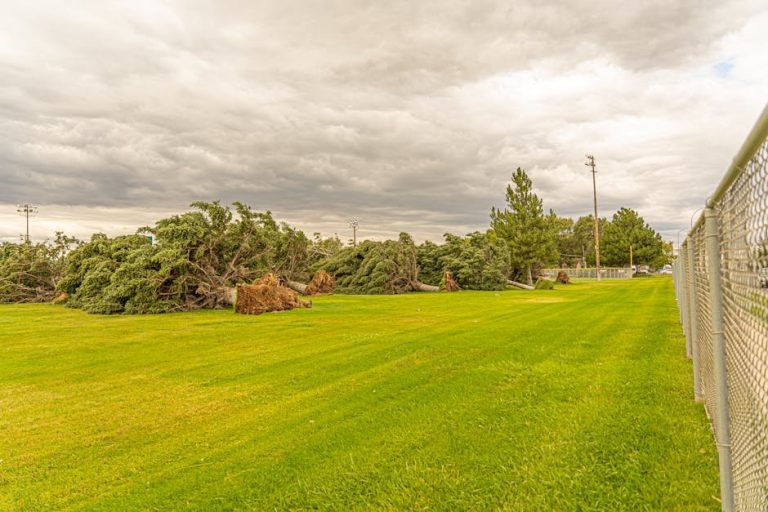
A severe storm just tore through your area. You can see missing shingles, a tree limb on the roof, or water dripping through the ceiling. What you do in the next 24 hours can mean the difference between a manageable repair and tens of thousands of dollars in interior water damage.
On the East Coast — where nor’easters, tropical storm remnants, severe thunderstorms, and winter ice storms can strike any time of year — every homeowner and property manager should know the basics of emergency roof protection. This guide covers what to do immediately after storm damage, when and how to tarp a roof, when to call a contractor for same-day service, and how to document everything for your insurance claim.
Immediate Safety First: Before You Do Anything
Before assessing roof damage or attempting any temporary repairs, address these safety concerns:
- Stay off the roof if conditions are still dangerous. If it’s still raining, windy, or dark, wait. No temporary repair is worth a fall.
- Check for downed power lines. Storm damage can bring electrical lines onto or near the roof. If you see any downed lines, stay away and call your utility company immediately.
- Assess structural integrity from the ground. If the roof is visibly sagging, a tree has penetrated the structure, or walls appear to be shifting, do not enter the building. Call 911 if there’s immediate danger, or contact a structural engineer.
- Turn off electricity to affected areas. If water is leaking near electrical outlets, switches, or fixtures, shut off power to those circuits at the breaker panel.
- Contain interior water damage. Place buckets under active leaks. Move furniture and valuables away from affected areas. If water is pooling on the ceiling, poke a small drainage hole to prevent the ceiling from collapsing under the weight.
Assessing the Damage from the Ground
You can gather significant information about roof damage without climbing onto the roof:
- Walk the perimeter of the building. Look for shingles, flashing, or roofing material on the ground. Note where they came from on the roof.
- Use binoculars. Scan the roof surface for missing shingles, exposed underlayment (black paper or synthetic sheet visible), displaced flashing, or puncture damage.
- Check the gutters and downspouts. Large quantities of granules, pieces of shingle, or displaced gutter sections indicate significant roof damage.
- Look at neighboring roofs. If similar homes on your street show damage, yours likely sustained damage too — even if it’s not immediately visible from the ground.
- Inspect the attic. With a flashlight, look for daylight coming through the roof deck, water stains on the underside of the deck, wet insulation, or active dripping. This tells you where the damage is located from the inside.
Emergency Roof Tarping: Step-by-Step
Tarping a damaged roof is the most effective temporary protection available. A properly installed tarp can protect your home for days or even weeks while you arrange permanent repairs. Here’s how to do it safely and effectively.
What You’ll Need
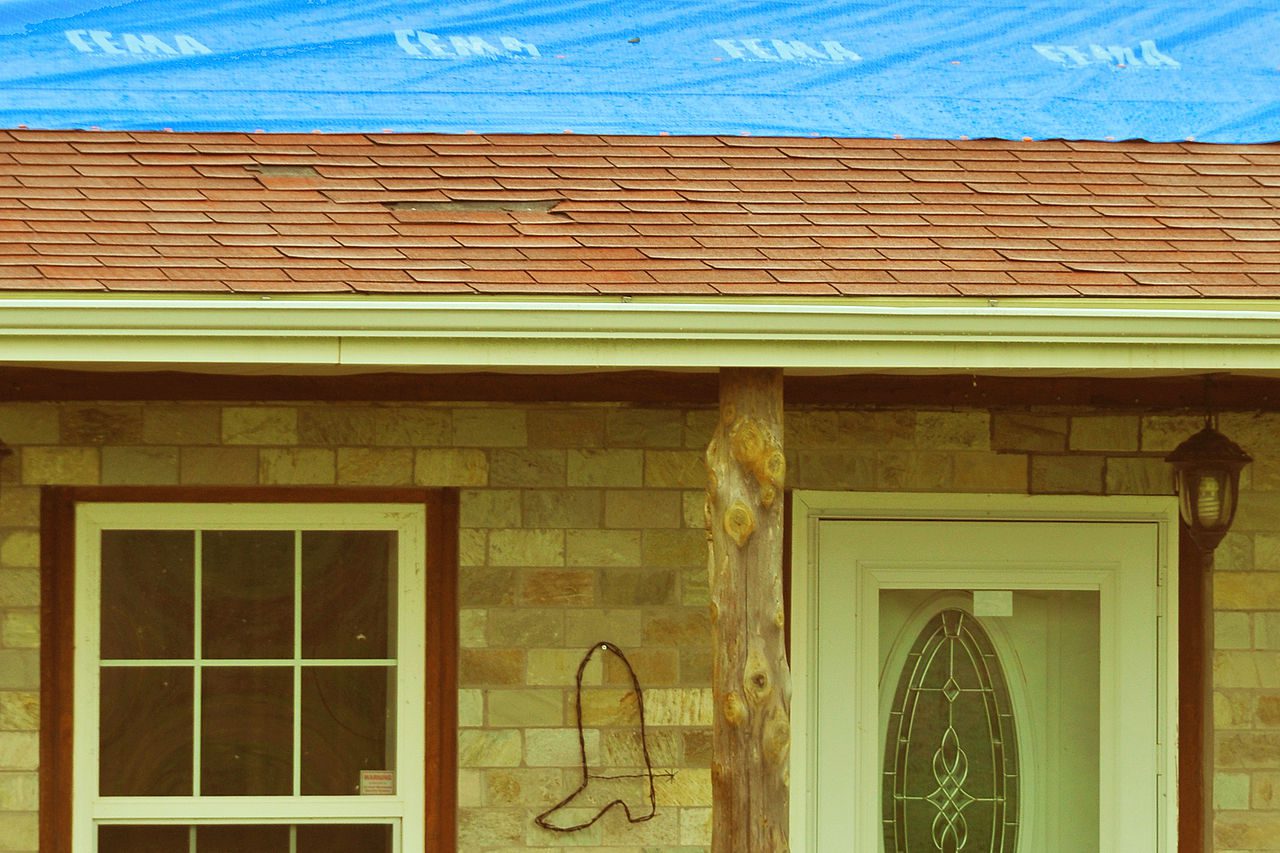
- Heavy-duty tarp: Use a blue poly tarp that’s at least 6 mil thick (thicker is better — 10–12 mil is ideal for extended use). The tarp should extend at least 4 feet beyond the damaged area on all sides.
- 2×4 lumber: 8-foot lengths for creating anchor boards
- Screws: 2.5–3 inch deck screws (not nails — screws hold better in wind)
- Drill/driver
- Utility knife
- Rope or bungee cords: For additional securing in high-wind situations
- Safety equipment: Non-slip shoes, safety harness and roof anchor if available, helper on the ground
Step 1: Prepare the Tarp
Unroll the tarp on the ground and orient it to cover the damaged area with at least 4 feet of overlap on all sides. For peaked roofs, the tarp must extend over the ridge (peak) of the roof by at least 3 feet to prevent wind from lifting it.
Step 2: Create Anchor Boards
Wrap one edge of the tarp around a 2×4 board. The board acts as a weight and anchor point. Roll the tarp around the board 2–3 times, then screw through the tarp into the board to secure it. Create anchor boards for the bottom edge and both sides.
Step 3: Position the Tarp
With a helper, carry the tarp onto the roof and position it over the damaged area. The top edge should extend at least 3 feet over the ridge line. The bottom anchor board should sit in the gutter or just above it.
Step 4: Secure the Top Edge
The top edge is the most critical attachment point. Wrap the top edge of the tarp around a 2×4 and screw the board directly into the roof deck through the sheathing on the far side of the ridge. This prevents wind from getting under the tarp from above.
Step 5: Secure the Bottom and Sides
The bottom anchor board should be heavy enough to hold the tarp in place. For additional security, screw a 2×4 through the tarp into the roof deck or fascia along the bottom edge. Secure the sides with additional 2x4s screwed through the tarp into the roof.
Step 6: Check for Wind Resistance
Ensure no loose edges where wind can get underneath. The tarp should be taut but not drum-tight (some slack allows it to absorb wind gusts without tearing). Add rope ties from the tarp to heavy anchor points on the ground (trees, fence posts, vehicles) if high winds are expected.
Important Tarping Notes
- Do not nail through the undamaged portion of the roof. Every nail hole is a future leak point. Use the 2×4 sandwich method to minimize penetrations.
- Tarps are temporary. Even a well-installed tarp will degrade in UV light and wind within 30–90 days. Schedule permanent repairs as soon as possible.
- Multiple tarps: If the damaged area is larger than a single tarp, overlap tarps by at least 12 inches, with the upper tarp overlapping the lower (shingle-style, so water runs off rather than into the seam).
When to Call a Contractor for Same-Day Emergency Service
Some situations require immediate professional help. Call a roofing contractor for same-day or next-day emergency service when:
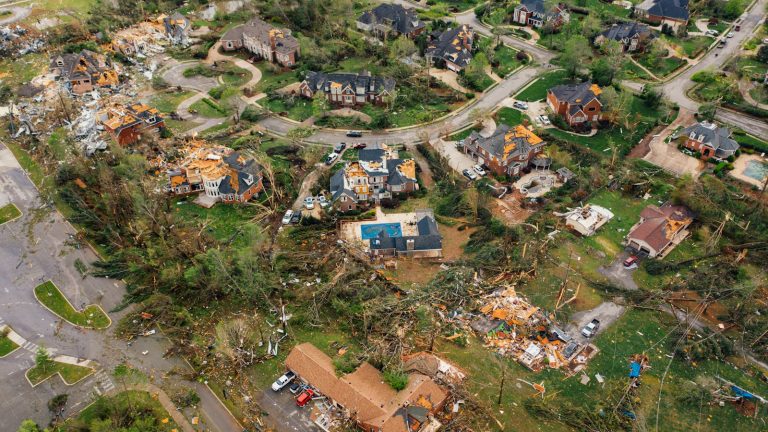
- A tree or large branch is on the roof. Removing trees from roofs requires specialized equipment and expertise. Improper removal can cause additional structural damage.
- The roof deck is exposed or penetrated. Bare deck or holes in the roof need professional repair immediately — tarping alone may not be sufficient.
- There’s structural damage. Sagging, cracked trusses, or displaced framing require immediate professional assessment.
- You can’t safely access the roof. Steep slopes, multi-story homes, and wet conditions make DIY tarping dangerous. Professional crews have harnesses, lifts, and experience.
- Multiple areas are damaged. Widespread damage affecting more than one roof section is beyond DIY temporary repair.
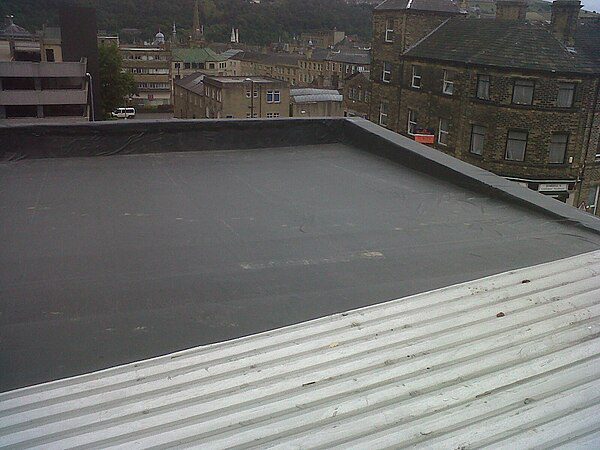
- You have a flat or commercial roof. Membrane roofs require specific patching techniques that differ from residential tarping.
Finding Emergency Roofing Help on the East Coast
After major storms, every roofing contractor in the area is overwhelmed with calls. Here’s how to navigate this:
- Call your regular contractor first. Established relationships get priority service. If you have a contractor you’ve worked with before, they should be your first call.
- Be wary of storm chasers. After every major East Coast storm, out-of-state contractors flood the area soliciting work door-to-door. While some are legitimate, many are not. Never sign a contract with a door-knocking contractor on the same day. Never sign an Assignment of Benefits (AOB) document without consulting your insurance company.
- Verify licensing. Even in an emergency, confirm the contractor holds the proper state license (MHIC in Maryland, DPOR in Virginia, DCRA in DC, local registration in Pennsylvania).
- Get a written scope of work before any emergency repairs begin, even if it’s handwritten. Know what you’re paying for.
Documenting Storm Damage for Insurance Claims
Proper documentation is the foundation of a successful insurance claim. Start documenting before you make any temporary repairs.
Before Temporary Repairs
- Photograph everything. Take wide-angle shots showing the overall damage plus close-up photos of specific damage points. Include shots from multiple angles.
- Video walkthrough. A video narrating the damage provides compelling documentation. Walk around the exterior, then through the interior, noting all damage as you go.
- Document the weather event. Save screenshots of weather alerts, radar images, and news reports about the storm. This establishes the cause of damage.
- Note the date and time. Record when the damage occurred and when you first discovered it.
During Temporary Repairs
- Photograph the repair process. Before, during, and after tarping. This shows you took reasonable steps to prevent further damage (your insurance policy requires this).
- Save all receipts. Tarp, lumber, screws, equipment rental — keep every receipt. These costs are typically reimbursable as part of your claim.
- Keep damaged materials. Don’t throw away damaged shingles, flashing, or other materials until the adjuster has inspected them. They’re evidence of the damage.
Filing the Claim
- Call your insurance company within 24–48 hours. Most policies require “prompt” notification of damage. Don’t wait.
- Request an adjuster inspection. An insurance adjuster will inspect the damage. You have the right to be present and to have your contractor present during this inspection.
- Get your own estimate. Don’t rely solely on the adjuster’s assessment. Get an independent estimate from a licensed roofing contractor. If the estimates differ significantly, your contractor can advocate for a supplement.
- Understand your deductible. Know whether you have a standard deductible or a percentage-based wind/hail deductible (common in Virginia and coastal Maryland). This affects your out-of-pocket cost.
State-Specific Insurance Tips
- Maryland: Maryland law (Insurance Article §27-1001) requires insurers to act in good faith and settle claims promptly. If your claim is unreasonably denied or delayed, you can file a complaint with the Maryland Insurance Administration.
- Virginia: Virginia has separate wind/hail deductibles that can be 1–5% of insured value. Understand your specific deductible before a storm — it may affect whether filing a claim makes financial sense for smaller damage.
- Washington DC: DC’s Department of Insurance requires timely claim processing. The district also has strong consumer protection laws against unfair claim denial.
- Pennsylvania: PA’s Unfair Insurance Practices Act prohibits insurers from making lowball settlement offers. If the initial offer seems inadequate, request a re-inspection or hire a public adjuster.
Temporary Repair Methods Beyond Tarping
Depending on the type and extent of damage, other temporary measures may be appropriate:
- Roofing cement/sealant: For small punctures, lifted shingles, or minor flashing gaps, roofing cement provides a temporary seal. Apply generously to both surfaces and press firmly. This is a patch — not a permanent fix.
- Self-adhesive flashing tape: Products like Grace Vycor or Typar flashing tape can provide temporary waterproofing over small damaged areas. Clean the surface, apply the tape with firm pressure, and overlap edges by at least 2 inches.
- Emergency shingle replacement: If you can identify the specific missing shingles and have matching replacements available, sliding a new shingle into place is an effective temporary fix. Use roofing cement to seal the edges since you may not be able to properly nail without lifting surrounding shingles.
- Interior bucket and plastic: When roof access isn’t possible, minimize interior damage by directing leaks into containers and covering furniture/flooring with plastic sheeting.
Building Your Emergency Preparedness Kit
Every East Coast homeowner should have these items ready before storm season:
- Two heavy-duty tarps (appropriate size for your roof sections)
- Six 8-foot 2×4 boards
- Box of 3-inch deck screws
- Cordless drill with charged batteries
- Tube of roofing cement and caulk gun
- Roll of self-adhesive flashing tape
- 100 feet of polypropylene rope
- Flashlight and headlamp
- Your insurance policy number and agent’s contact information
- Your roofing contractor’s emergency phone number
Related Reading
- filing a storm damage roof claim in Maryland
- Virginia storm damage insurance claims
- hurricane season roof preparation
Get Professional Help Now
If your roof has been damaged by a storm, don’t wait. Every hour of exposure to the elements increases interior damage and repair costs. Whether you need emergency tarping, a damage assessment, or a full repair estimate, getting a professional involved quickly is the smartest move you can make.
Related Roofing Resources
- Filing storm damage claims in Baltimore
- Philadelphia storm damage roof claims
- Deciding between roof repair and replacement
- How long roofs last in the Mid-Atlantic
- Financing a roof replacement
- Best roofing materials for Mid-Atlantic weather
Get your free emergency roofing estimate today and connect with a licensed, insured roofing contractor in your area who can respond quickly to storm damage. Serving homeowners and property managers throughout Maryland, Virginia, Washington DC, and Pennsylvania.