Commercial Roof Inspection Checklist: What Property Managers in MD, VA, DC, and PA Should Know
Why Commercial Roof Inspections Are Non-Negotiable in the Mid-Atlantic
A commercial roof is one of the most expensive components of any building, yet it’s often the most neglected. For property managers in Maryland, Virginia, Washington DC, and Pennsylvania, regular roof inspections aren’t just good practice — they’re essential for protecting your investment against the region’s demanding climate.
The Mid-Atlantic throws everything at commercial roofs: summer heat that cooks membrane surfaces, winter ice that exploits every weak seam, wind-driven rain that tests flashing at every penetration, and temperature swings that stress materials year-round. A structured inspection program catches small problems before they become catastrophic failures.
This guide provides a comprehensive checklist you can use for routine inspections, a seasonal schedule tailored to Mid-Atlantic weather patterns, and clear guidance on when a finding requires professional attention.
How Often to Inspect: The Mid-Atlantic Schedule
The industry standard calls for twice-yearly inspections. In the Mid-Atlantic, we recommend four inspection touchpoints per year, aligned with the region’s seasonal weather transitions:
Spring Inspection (March–April): Post-Winter Assessment
This is the most critical inspection of the year. Winter takes the hardest toll on Mid-Atlantic commercial roofs. Schedule this inspection as soon as sustained temperatures are above 40°F and snow/ice has fully melted.
Primary focus: Ice damage assessment, membrane integrity after freeze-thaw cycling, flashing condition, drainage system function.
Early Summer Inspection (June): Pre-Heat Check
A lighter-touch inspection to ensure the roof is prepared for summer heat and thunderstorm season.
Primary focus: Drain and scupper clearance, HVAC unit surrounds, UV damage assessment, storm preparation.
Fall Inspection (September–October): Storm Season and Winter Prep
The Mid-Atlantic’s most active severe weather period runs from August through October (hurricane season remnants, severe thunderstorms). Follow up with a pre-winter inspection.
Primary focus: Storm damage assessment, gutter and drain clearance, pre-winter repairs, tree debris removal.
Mid-Winter Check (January): Snow Load and Ice Dam Monitoring
Not a full inspection, but a targeted check during or after significant snow events.
Primary focus: Snow load assessment, ice dam formation, drain blockage from ice, emergency leak identification.
The Complete Commercial Roof Inspection Checklist
Use this checklist during each inspection. Not every item applies to every roof type — adapt based on your specific system (TPO, EPDM, metal, built-up, or modified bitumen).
Section 1: Roof Surface and Membrane
- ☐ Walk the entire roof surface systematically (grid pattern recommended)
- ☐ Check for punctures, tears, cuts, or gouges in membrane
- ☐ Inspect membrane for blistering, bubbling, or ridging
- ☐ Look for areas of ponding water (mark boundaries with chalk for monitoring)
- ☐ Check for membrane shrinkage — pulling away from edges, curbs, or penetrations
- ☐ Inspect all seams and laps for separation, lifting, or adhesive failure
- ☐ On metal roofs: check for loose, bent, or displaced panels
- ☐ On metal roofs: inspect for rust, corrosion, or coating failure
- ☐ Check for surface contamination (chemical spills, grease, petroleum products)
- ☐ Document any foot traffic damage patterns (crushed insulation, worn paths)
- ☐ Photograph all findings with location reference
Section 2: Flashing and Edge Details
- ☐ Inspect all perimeter edge flashing — secure, sealed, no lifting
- ☐ Check coping cap attachments and sealant joints
- ☐ Inspect wall flashing at every wall-to-roof transition
- ☐ Check counter-flashing for separation from wall surface
- ☐ Inspect all expansion joint covers for damage or displacement
- ☐ Examine drip edges for proper function and attachment
- ☐ Check pitch pans (sealant pots) — filled, sealed, not cracked
- ☐ Inspect parapet walls for cracks, spalling, or deterioration
Section 3: Penetrations and Equipment
- ☐ Check every pipe boot and penetration seal — cracking, gaps, deterioration
- ☐ Inspect HVAC unit curbs and surrounds — flashing, sealant, support integrity
- ☐ Check conduit and electrical penetrations for proper sealing
- ☐ Inspect skylight curbs and glazing seals
- ☐ Check exhaust fan housings and ductwork connections
- ☐ Verify all equipment platforms and supports are stable and properly flashed
- ☐ Check satellite dishes, antennas, and sign supports for proper attachment
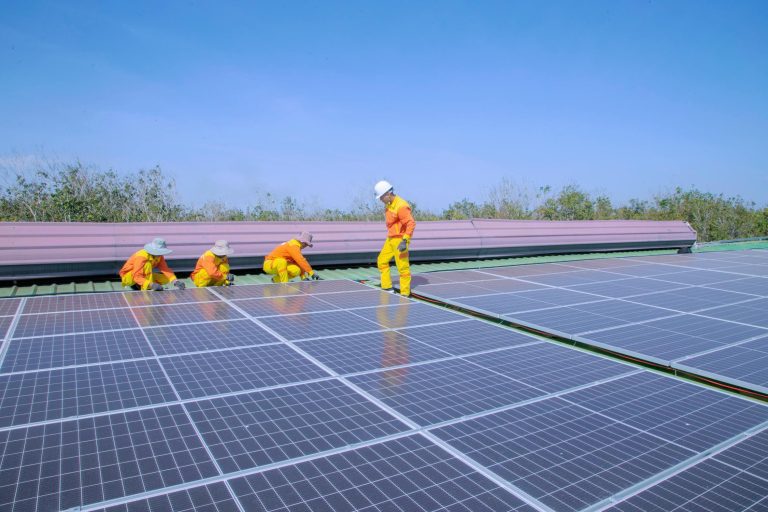
- ☐ Inspect any rooftop solar panel mounting systems and surrounding membrane
Section 4: Drainage System
- ☐ Clear all roof drains of debris — leaves, gravel, trash
- ☐ Check drain strainers/dome covers — present, undamaged, properly seated
- ☐ Inspect scuppers for blockage and proper function
- ☐ Check internal drain bowls for cracks or separation from membrane
- ☐ Inspect gutters for damage, proper slope, and secure attachment
- ☐ Check downspout connections and ensure they’re directing water away from foundation
- ☐ Verify overflow drains/scuppers are unobstructed (critical safety drainage)
- ☐ Mark and monitor all areas of ponding water exceeding 48 hours after rain
Section 5: Interior Inspection (From Below)
- ☐ Check ceiling tiles and surfaces for water stains — new or expanding
- ☐ Look for mold or mildew on walls or ceilings near the roof line
- ☐ Inspect any accessible deck areas for moisture, rot, or corrosion
- ☐ Check insulation for moisture damage (wet insulation loses R-value)
- ☐ Look for daylight penetration through the roof deck
- ☐ Document any occupant reports of leaks or moisture
- ☐ Check mechanical room ceilings and walls (often first areas to show leaks)
Section 6: Safety and Access
- ☐ Verify roof access hatches seal properly when closed
- ☐ Check ladder safety posts and rails for secure attachment
- ☐ Inspect fall protection anchors if installed
- ☐ Ensure roof walkway pads or designated walk paths are in place
- ☐ Verify roof signage (restricted access, voltage warnings) is present and legible
Seasonal Priorities: What to Focus on When
Spring (Post-Winter)
After a Mid-Atlantic winter, prioritize these items:
- Membrane integrity: Freeze-thaw cycling is the biggest enemy of single-ply membranes. Look carefully at seams, especially on EPDM roofs where adhesive seams can be stressed by thermal movement.
- Flashing: Ice formation at roof edges and around penetrations can pry flashing loose. Check every piece.
- Drainage: Winter debris accumulation blocks drains. Clear everything before spring rains arrive.
- Structural concerns: Heavy snow loads in PA and western MD can cause deck deflection. Look for new sag or ponding areas that weren’t there in the fall.
Summer
Heat-focused inspection priorities:
- Blistering: Trapped moisture in the roof assembly expands in heat, creating blisters in membrane roofs. Small blisters can be monitored; large or growing blisters need professional attention.
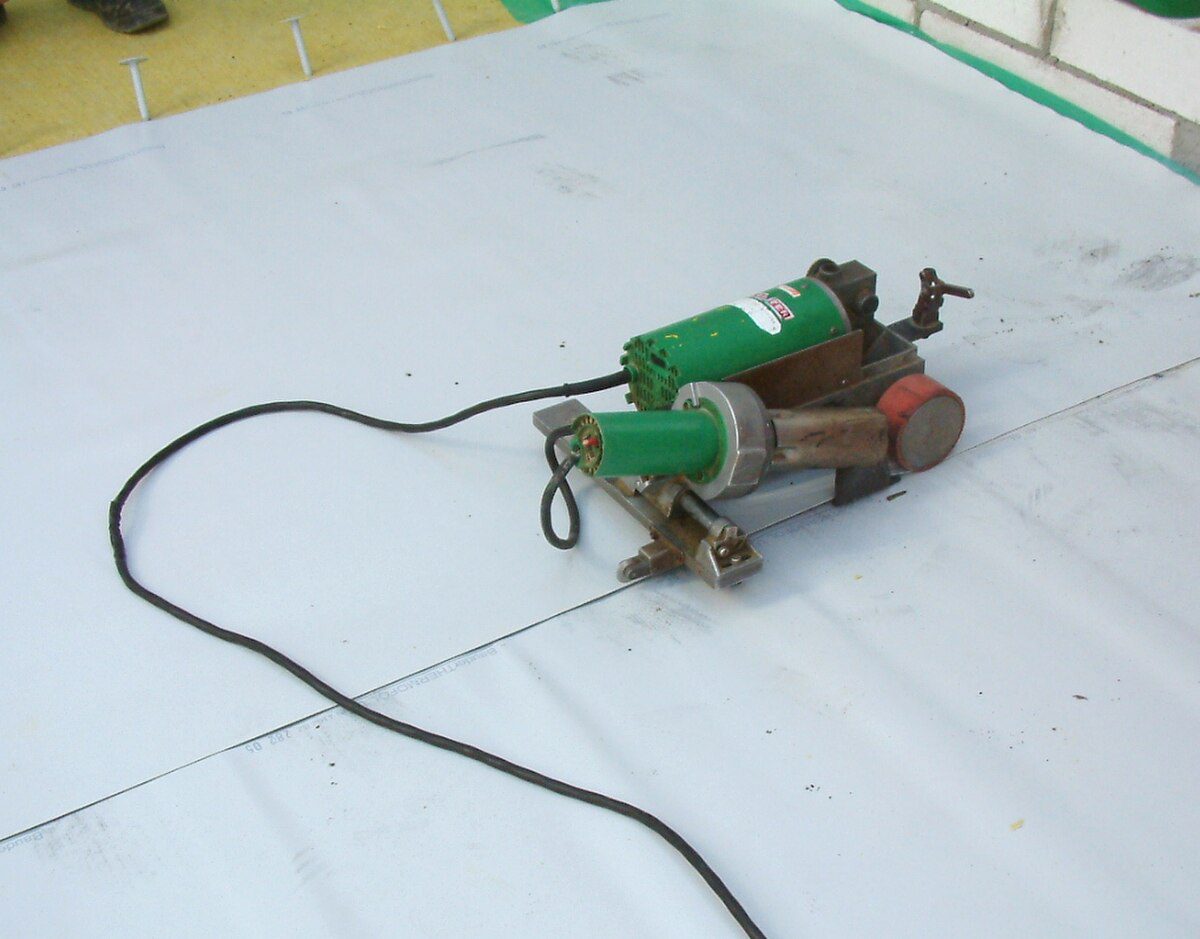
- Seam integrity on TPO: While heat-welded seams are durable, check for any that show signs of stress from thermal expansion.
- HVAC surrounds: Summer is when HVAC units run hardest. Vibration from units can loosen curb flashing and create leaks.
- Storm damage: After every significant thunderstorm or wind event, do a quick visual inspection.
Fall (Pre-Winter)
Prepare the roof for winter:
- Drain and gutter clearance: Remove all leaves and debris. A blocked drain in winter means standing water that freezes and causes far more damage.
- Repair scheduling: Any issues found should be repaired before temperatures drop below 40°F (the minimum for most adhesive-based repairs).
- Tree trimming: Cut back any branches that overhang the roof. Winter wind and ice can bring them down.
- Emergency supplies: Ensure the building has tarps, buckets, and emergency contact information for your roofing contractor posted in the maintenance area.
Winter
Limited-scope but important checks:
- Snow load monitoring: Know your building’s rated snow load capacity (your structural engineer can provide this). For most Mid-Atlantic commercial buildings, concern begins at 20–30 lbs/sq ft of snow (approximately 3–5 feet of fresh snow or 1–2 feet of packed/wet snow).
- Ice dam identification: Look for ice buildup at roof edges, around drains, and at low points. Ice dams block drainage and force water under membranes.
- Interior leak monitoring: Increase the frequency of interior checks during freeze-thaw periods. Leaks often appear when ice melts.
When to Call a Professional Contractor
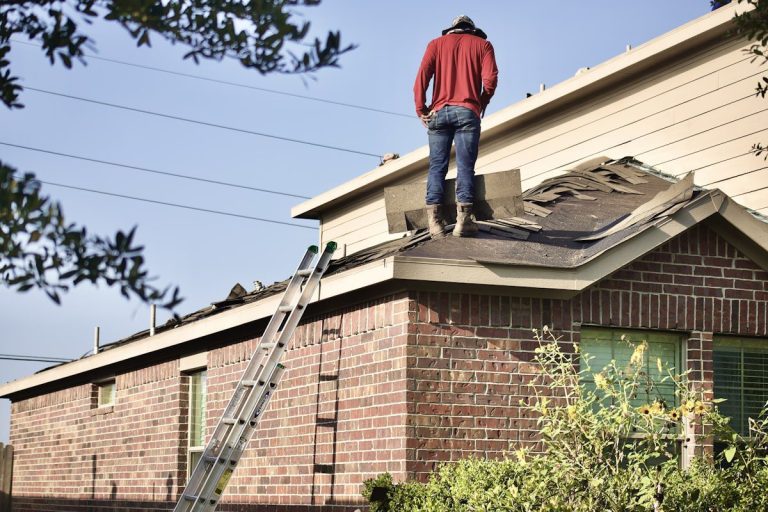
Property managers can handle routine visual inspections, but certain findings require professional assessment and repair:
- Call immediately: Active leaks, structural sagging or deflection, large membrane tears or punctures, significant flashing failure, ponding water deeper than 1 inch
- Schedule within 1–2 weeks: Seam separation (not actively leaking), minor flashing gaps, small blisters, drain issues that aren’t causing ponding
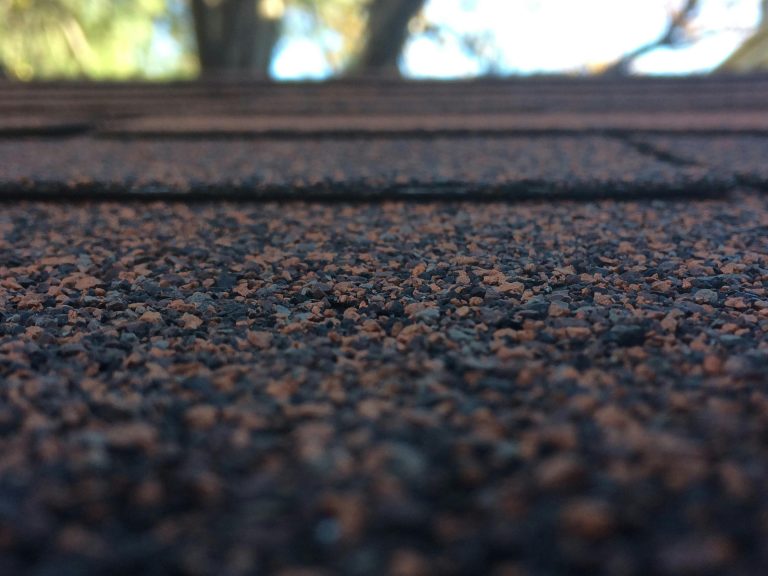
- Address at next scheduled maintenance: Cosmetic issues, minor surface wear, small areas of granule loss on modified bitumen, staining
Documentation Best Practices
Every inspection should produce a dated record that includes:
- Inspector name and qualifications
- Weather conditions at time of inspection
- Photographs of all findings (with a roof diagram showing photo locations)
- Condition rating for each checklist section (Good / Fair / Poor / Critical)
- Recommended actions with priority levels
- Comparison notes to previous inspection findings
Maintain these records for the life of the roof. They’re invaluable for warranty claims, insurance claims, due diligence during property sales, and tracking deterioration rates to predict replacement timing.
Related Reading
- property manager’s guide to commercial roof maintenance
- commercial flat roofing in Maryland
- commercial flat roof repair vs replacement in Pennsylvania
Get Your Roof Professionally Inspected
While this checklist empowers you to perform effective routine inspections, nothing replaces a professional assessment from a licensed commercial roofing contractor. Professional inspectors use moisture detection equipment, infrared scanning, and core sampling to identify hidden problems that visual inspection alone cannot catch.
Related Roofing Resources
- Best roofing materials for Mid-Atlantic weather
- How long roofs last in the Mid-Atlantic
- Signs you need a roof replacement
- Deciding between roof repair and replacement
- Financing a roof replacement
- Whether homeowners insurance covers roof replacement
Schedule a free professional roof inspection today and get a comprehensive condition report for your commercial property. Our network of certified commercial roofing contractors serves property managers throughout Maryland, Virginia, Washington DC, and Pennsylvania.